My T-Shirt Design Process
In the following article I would like to take you through the process of how I create a new t-shirt design. I thought it might be interesting for you to see the steps how an idea develops into a finished design. As an example, I have selected a funny cartoon-style owl sitting on a witch broom.
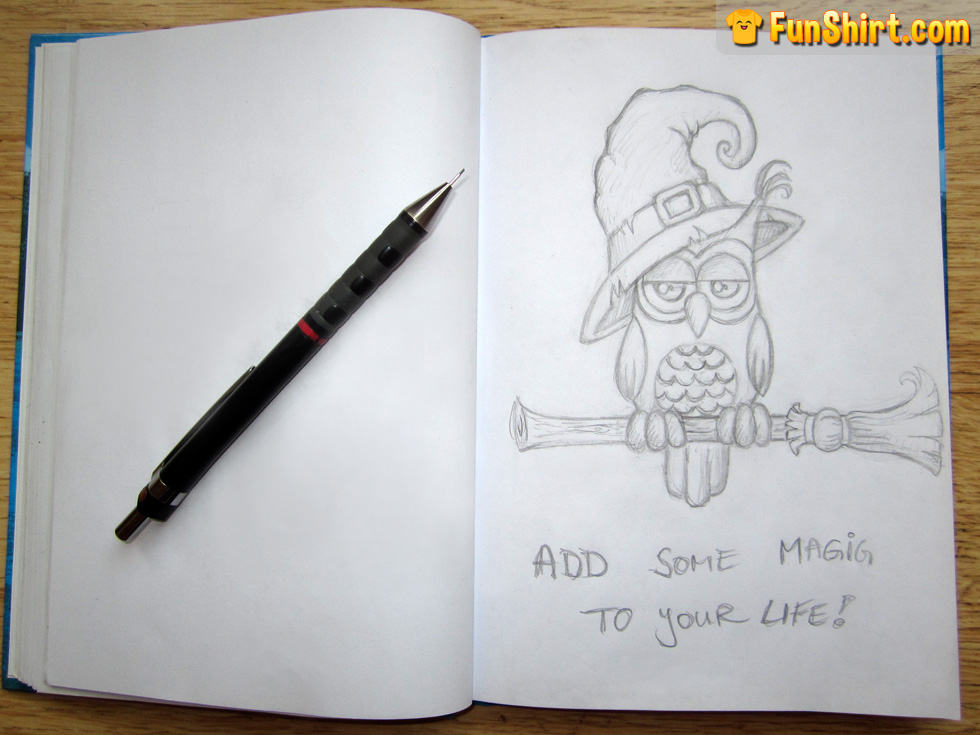
Step 1 - First Sketch: Everything starts with an idea and a first sketch of the design. For this propose I use a sketchbook which I take with me everywhere I go. This enables me to record ideas immediately with quick pencil drawing if something around me gives me an inspiration for a new shirt design.
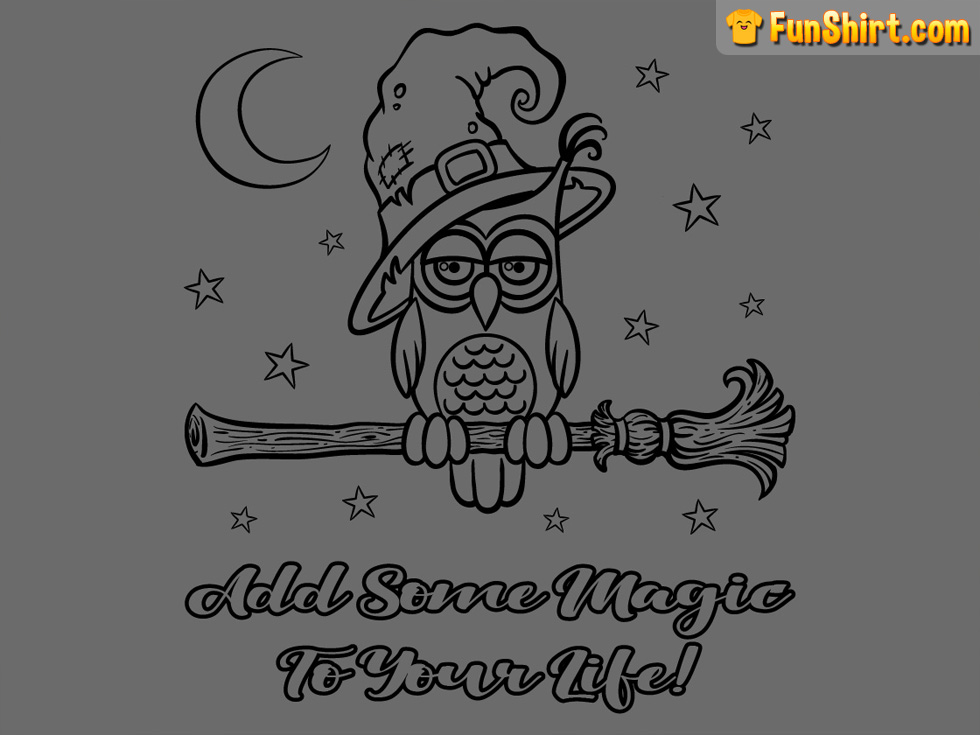
Step 2 - Outlines and Layout: Now it is time to scan the pencil sketch and transfer it to a vector graphic program. Based on the pencil lines of the sketch I draw the outlines of the design digitally with a pressure-sensitive pen my graphic tablet. In this stage, I usually change some things of the initial sketch like adding more details and modifying the size of certain elements. In this case, I have added the half moon and some stars to the background and have changed the length of the broom stick to align the owl exactly into the center of the design. When I am satisfied with outlines, I search a font that matches the topic and aesthetic of the drawing and fit the text of the slogan into the design.
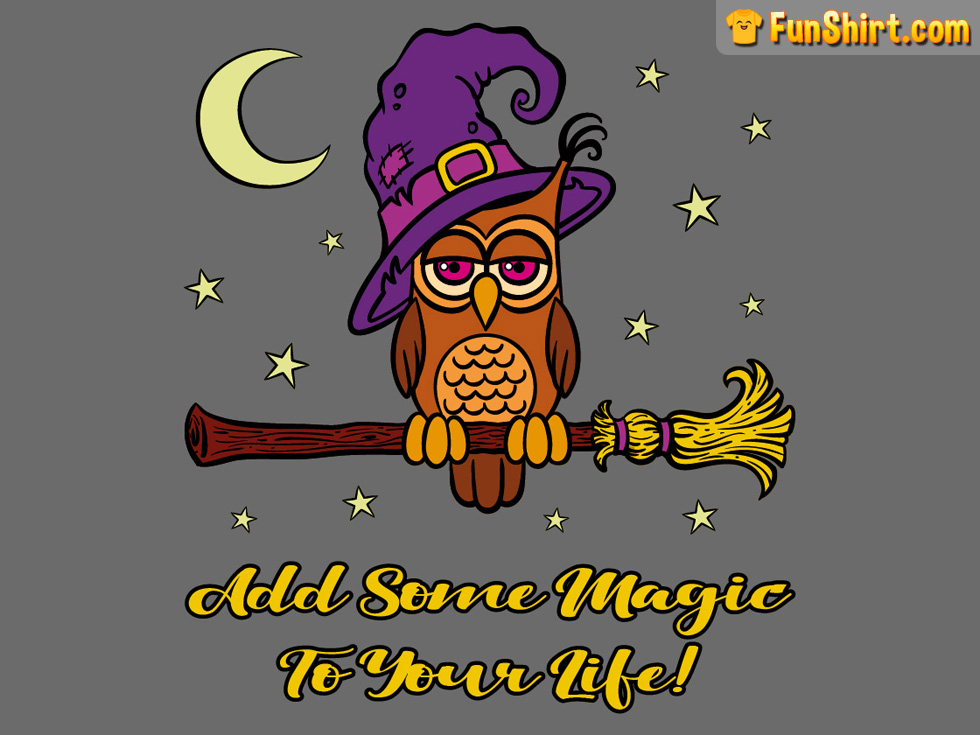
Step 3 - Base Colors: As soon as the general layout is finished I fill in the base colors. For my cartoon-style designs I usually try to use complementary colors to achieve a vibrant look with a strong color contrast. For this owl design I therefore have picked a dark purple for the witch hat and a bright yellow for brush of the broom to make this elements stand out in order to emphasize the message of the slogan.
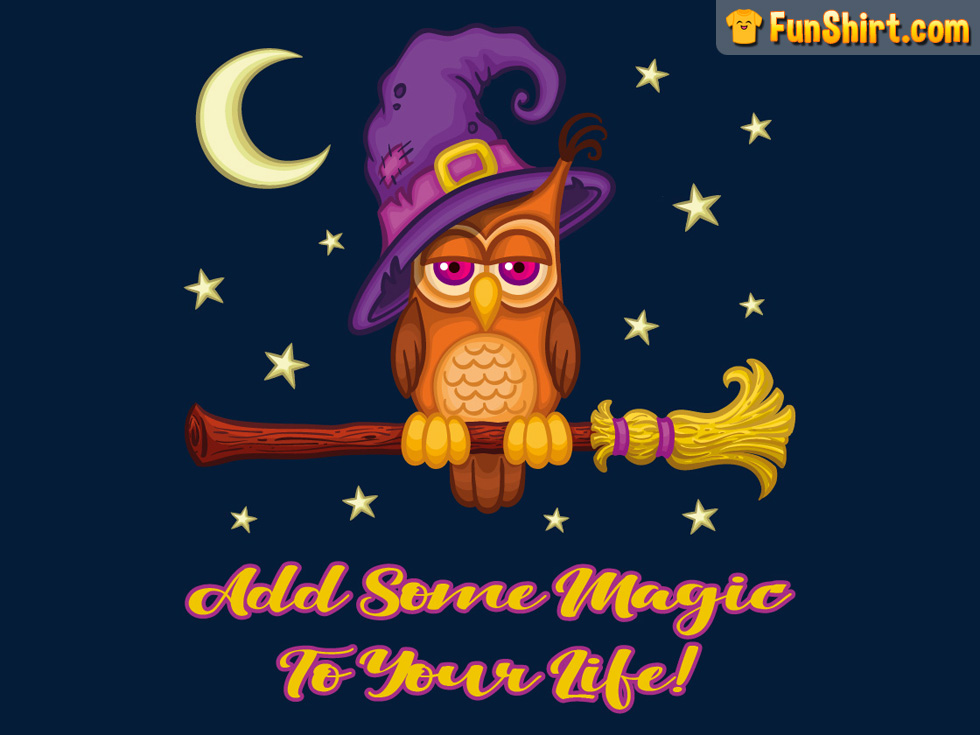
Step 4 - Outline Colors: After that, I add colors to the outlines related to the base colors of their surrounded objects to generate a more natural and connected look. Also, I decide myself for a primary t-shirt color which works well together with the design. This depends on what is shown in the drawing and on which outline and base colors I have picked before. In this example, I wanted to have a night sky as a background for the owl and therefore I have optimized the brightness of the outline colors to look best on a navy blue t-shirt.
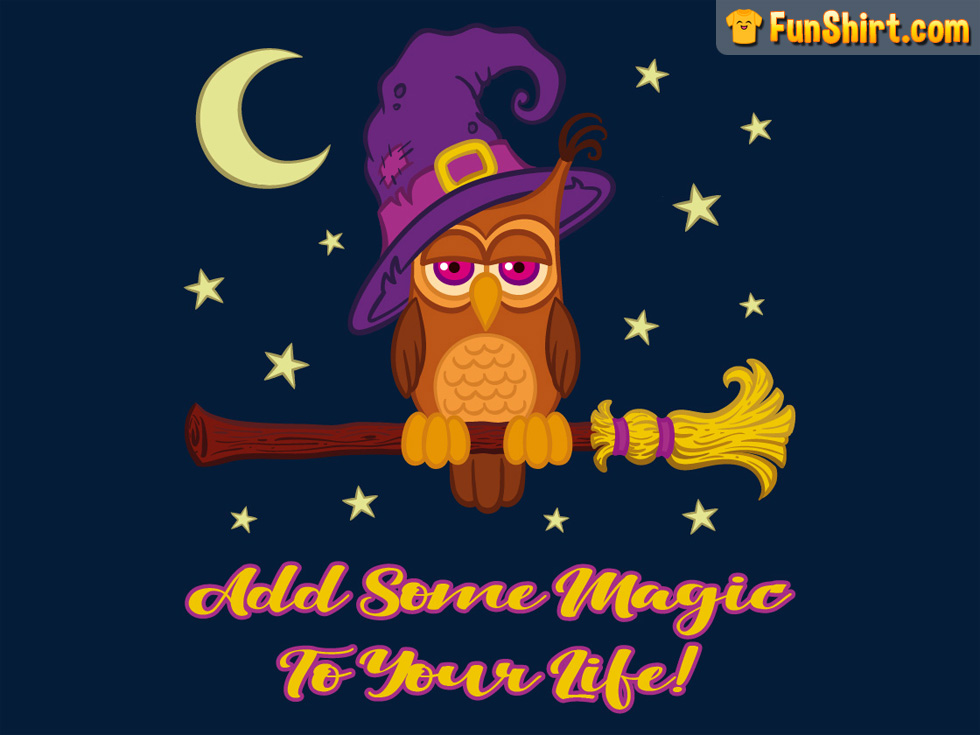
Step 5 - Shadows and Highlights: In the last step I add shadows and highlights to the shapes of the drawing. This is quite important because it gives the drawing more depth and a three-dimensional appearance. For this design I have decided that the light comes from the upper left and therefore I have added shadows to the lower edges of the right side and highlights to the upper edges of the left side. After that, the design is finished and ready to get printed. Thank you for reading!